A bit of History
This is not the first project of this kind that we have undertaken. Over the last 4 years, we have been improving successive versions, learning from mistakes, and using different platforms.
As you can deduce from the following images, it has not been an easy path, but it has certainly been a lot of fun:
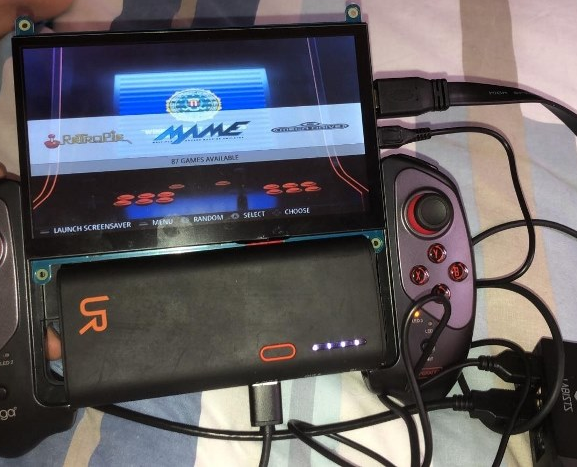
Version 1
Handheld version, the first retro arcade I've made.
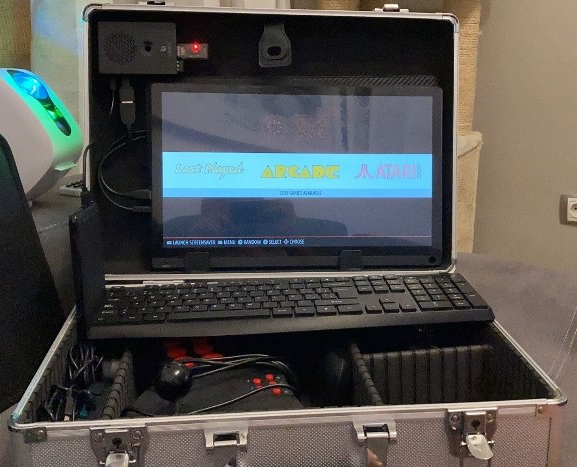
Version 2
Second version, into a rigid briefcase, but not so portable.
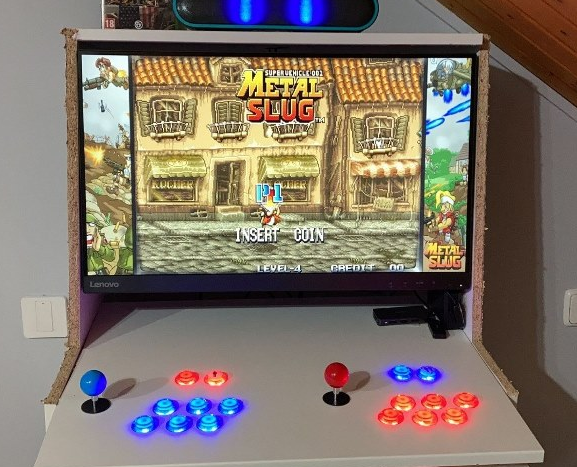
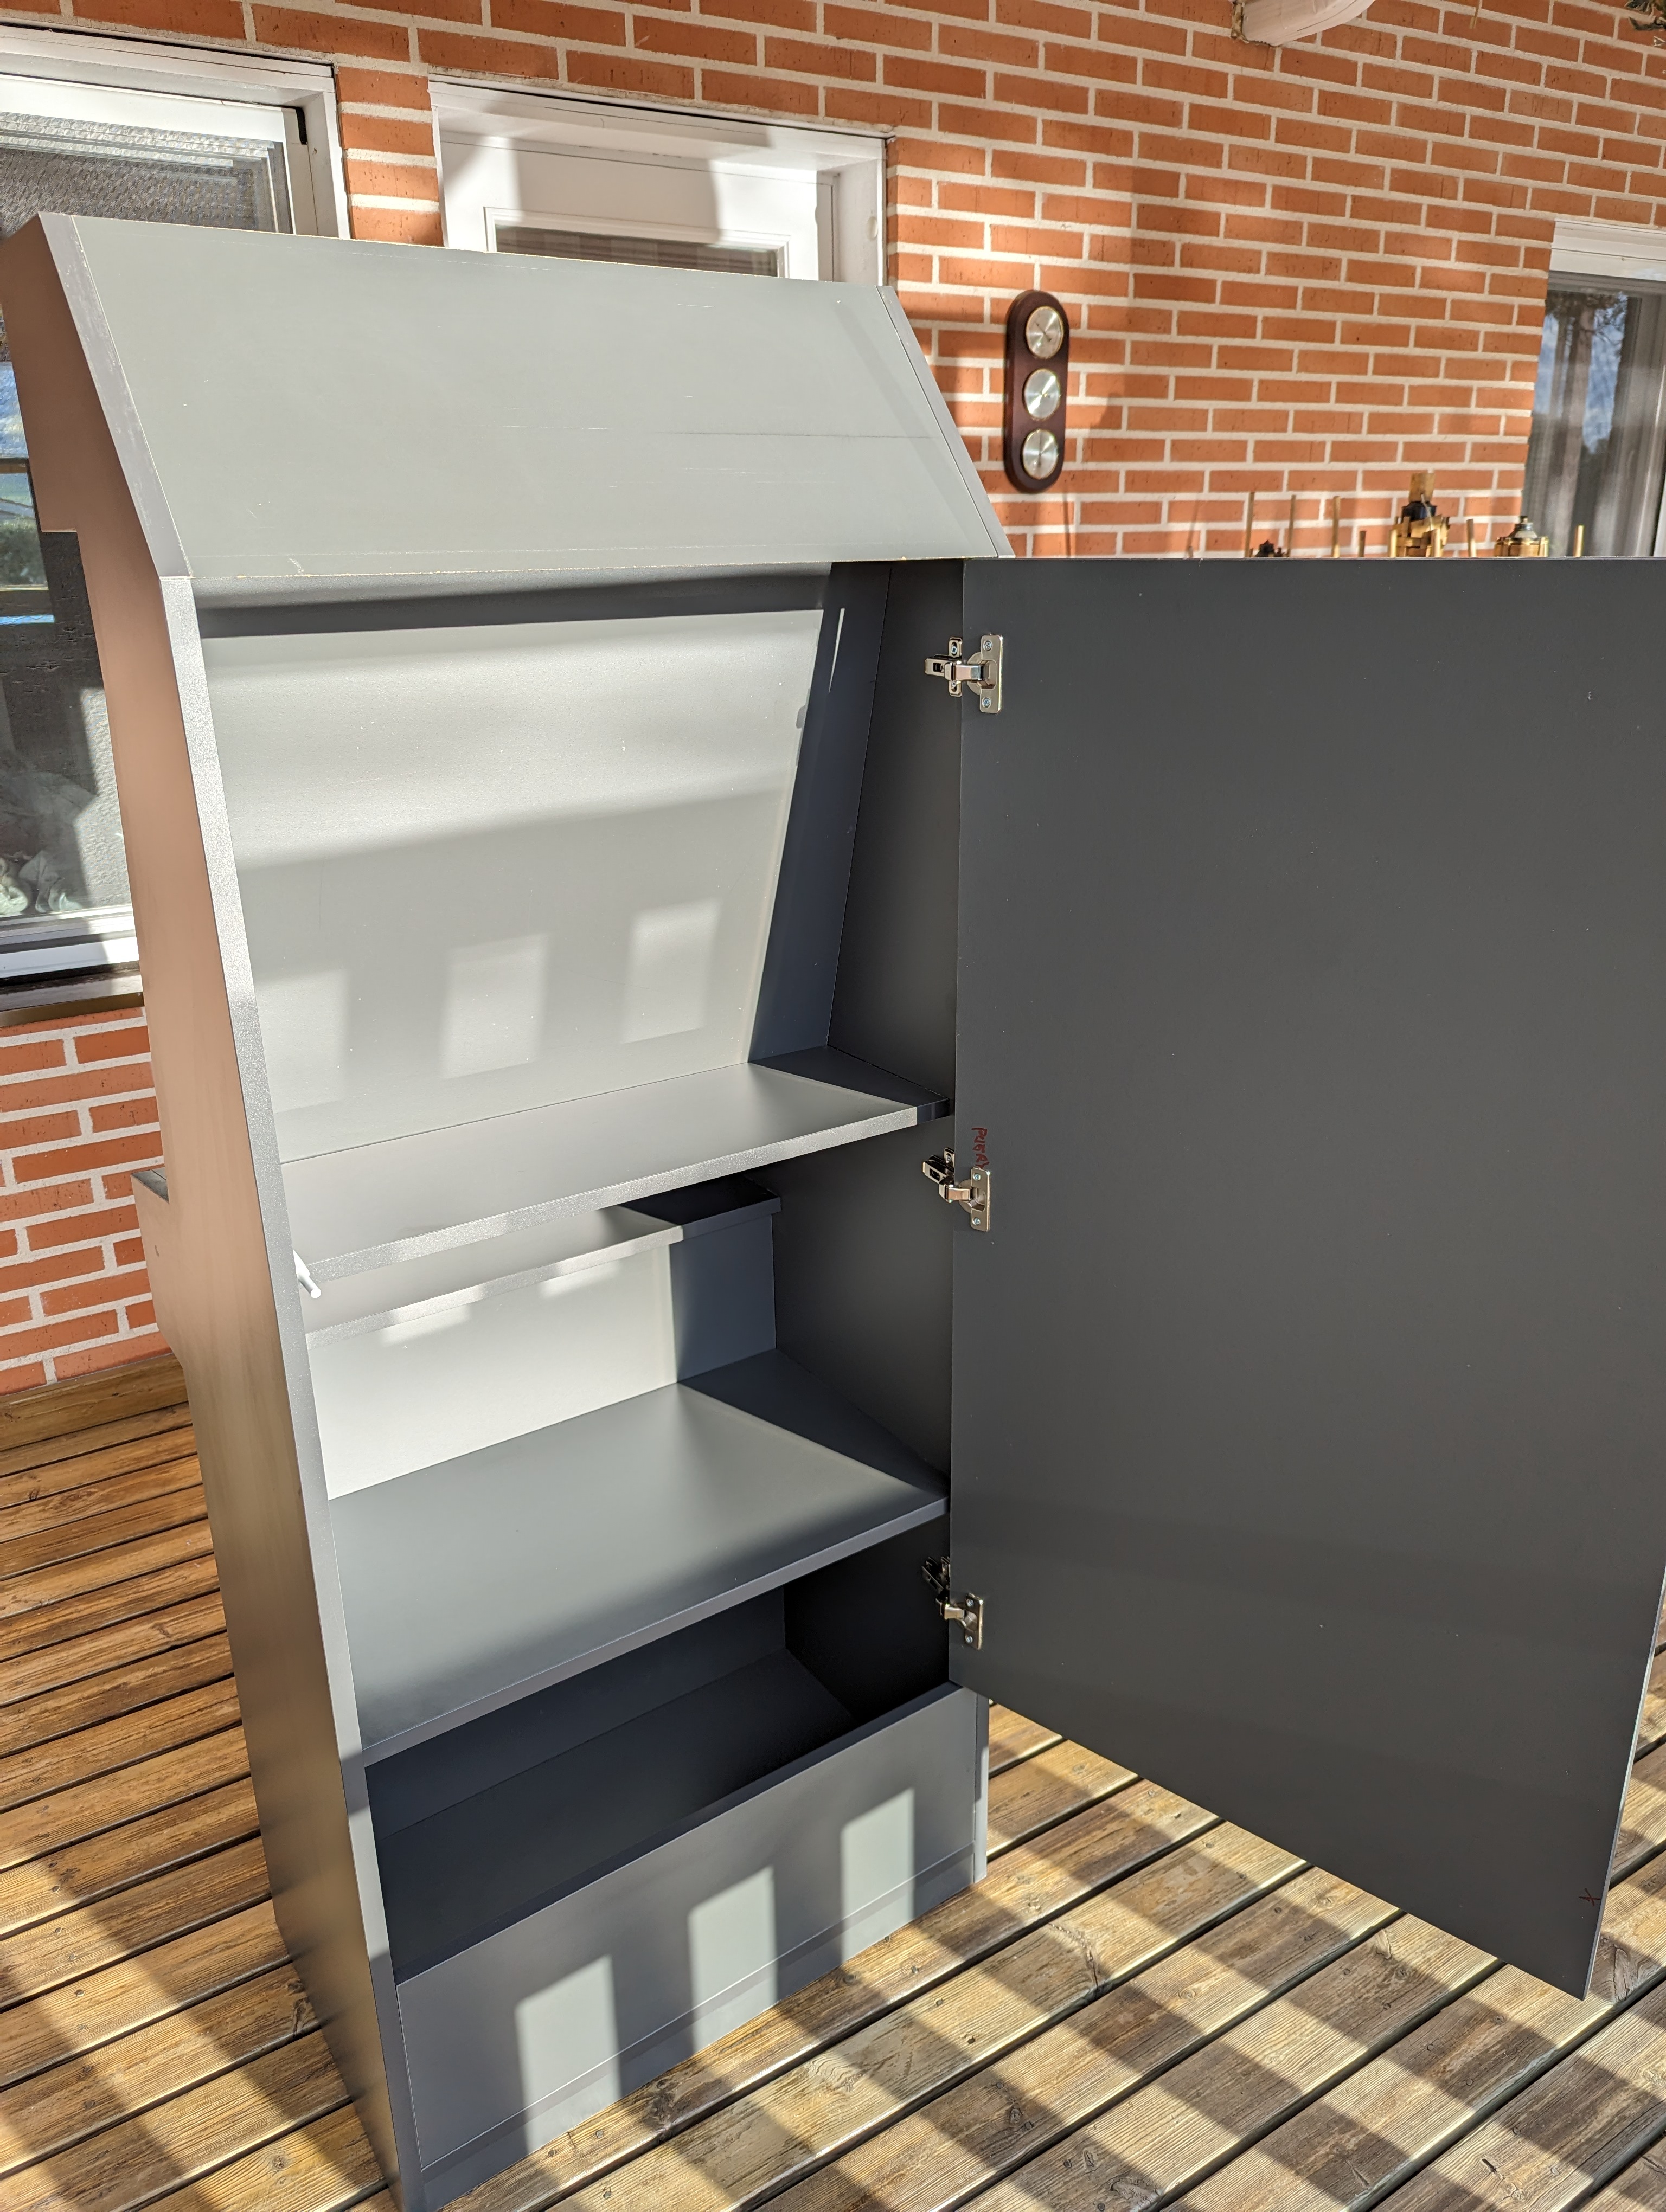
Version 3
Carpentry failed attemp.